


- EN
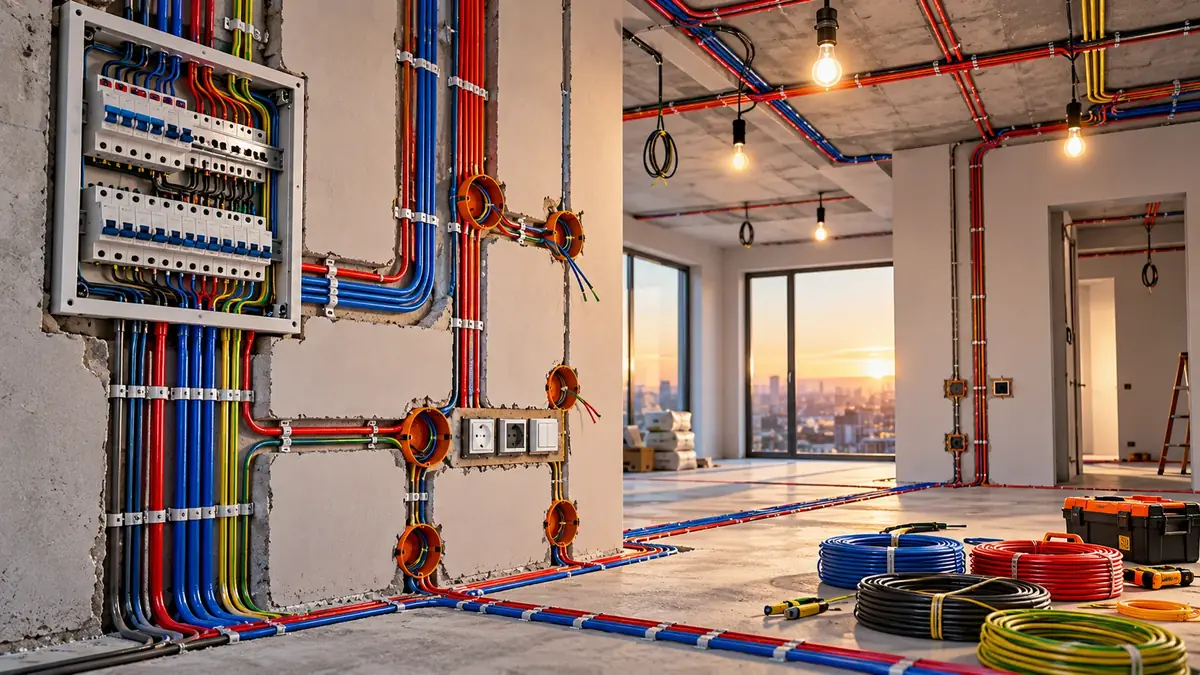
Electrical wiring in an apartment is the stage of renovation that disappears into the wall once and has to last 25–30 years. If you make a mistake here, fixing it means removing new plaster, putty and paint, which is a double expense. In this article we explain step by step how to plan correctly, what cable, how many sockets and what kind of panel you need, what standards the work must meet, and how to accept the work from your electrician so you don’t run into problems later.
📌 If you only care about the cost, go straight to the electrical wiring price calculator: in 1 minute it calculates the cable, sockets, circuit breakers and installation for your apartment.
The most expensive mistake is placing sockets “by eye” and later finding them behind a wardrobe or under the bed. Before the electrician starts chasing the walls, draw every room on paper and mark the bed, sofa, TV, desk, kitchen worktop and appliances. Every socket and switch must fit this plan.
The electric stove, oven, water heater, washing machine, dishwasher and air conditioner should each have their own line and circuit breaker. If everything is on one line, the breaker trips when you switch on the kettle and a heater together, and the cable is at risk of overheating.
Use 3×1.5 mm² for lighting, 3×2.5 mm² for sockets and 3×6 mm² for the stove. Aluminum or thin cable is cheaper, but it is one of the main causes of fires.
30 mA residual current protection (RCD/RCBO) is essential on the bathroom, kitchen and balcony lines: it cuts the power within milliseconds if there is a leak anywhere, and protects people from electric shock.
The third, yellow-green conductor must reach every socket. Without earthing, a washing machine and water heater can give you an electric shock.
Leave 20–30% free space in the electrical panel. In 2–3 years you may need an air conditioner, an electric car charger or underfloor heating.
After chasing the walls and running the cable, and before plastering, photograph every wall with a tape measure in the shot. This diagram will help you later when you drive a nail or hang a shelf.
| Room | Sockets | Switches / light fixtures | Note |
|---|---|---|---|
| Kitchen | 6–10 | 2–4 | Separate lines for the stove, oven and machines |
| Living room | 6–8 | 2–3 | 4–6 sockets in the TV area + internet |
| Bedroom | 4–6 | 2 | A socket and a switch on both sides of the bed |
| Bathroom | 2–3 | 1–2 | Protected (IP44) socket, RCD protection |
| Hallway | 1–2 | 2–3 | Two-way switch from two locations |
| Balcony | 1 | 1 | Sealed (weatherproof) socket |
A three-room apartment usually ends up with 35–50 points in total. Planning an extra 3–4 sockets in advance is always cheaper than living with extension cords later.
| Line | Cable | Circuit breaker |
|---|---|---|
| Lighting | 3×1.5 mm² Cu | 10 A |
| Sockets | 3×2.5 mm² Cu | 16 A + 30 mA RCD |
| Electric stove / oven | 3×6 mm² Cu | 32 A |
| Water heater, air conditioner | 3×2.5 mm² Cu | 16–20 A |
| Main supply | 3×10 mm² Cu | 40–50 A |
These values are based on the international IEC 60364 standard, which electricians in Europe and Georgia follow.
Electrical work is always done in parallel with central heating and plumbing, before plastering, so you only have to chase and repair the walls once. For your full renovation budget, use the renovation calculator, and buy materials at a discount at Datvale partner stores, where you can compare the price of the same socket or cable across different shops.
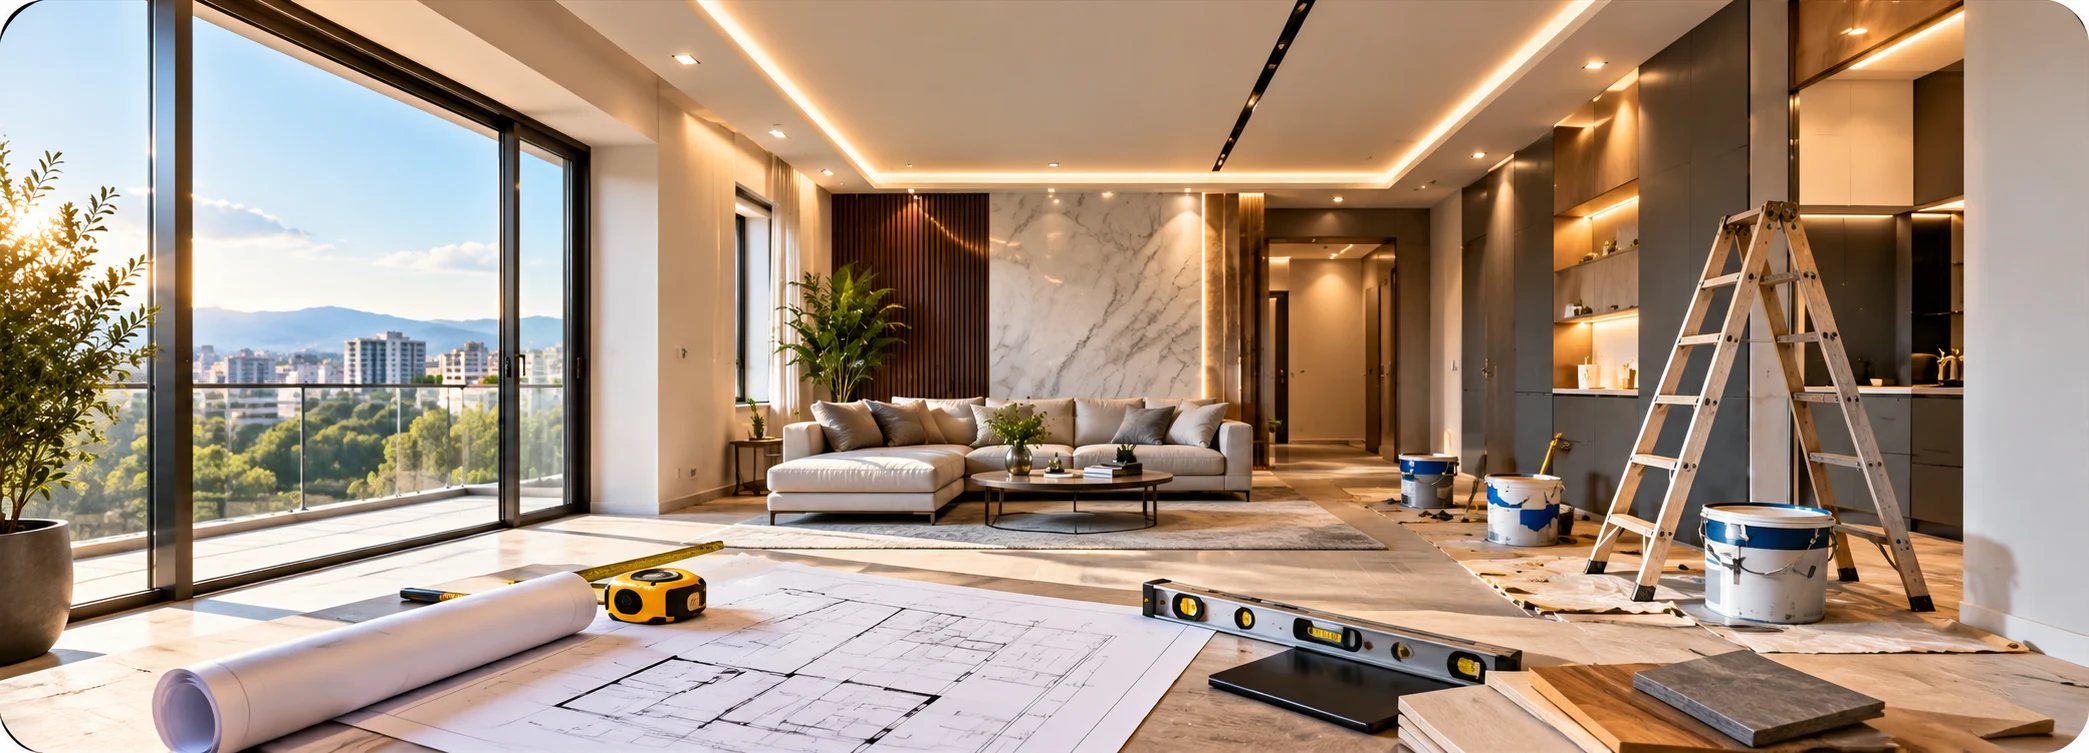
In a black frame apartment, the developer usually only installs the main supply and the meter, so the electrical wiring in the apartment is done from scratch, to your design. This is the best option, because the points will match your furniture exactly. In a green frame apartment, wiring is often already there, but with an “average” layout: a few sockets per room and a single line. In that case, be sure to check the cable cross-section, the panel and the earthing, and add lines as needed. In a white frame apartment everything is finished, so changes cost more: a new chase means new plaster and repainting. When you take over a white frame apartment, test every socket with a tester.
In old buildings, especially Soviet-era blocks, the electrical wiring in the apartment is often aluminum and is not designed for modern loads. Signs that it needs replacing:
If you have even one of these, replace the wiring completely during the renovation. Partial “patching” doesn’t solve the problem.
| Element | Height from the floor |
|---|---|
| Regular socket | 25–30 cm |
| Switch | 90–105 cm |
| Kitchen worktop socket | 105–115 cm |
| TV sockets | Behind the screen, 100–130 cm |
| Washing machine | 100 cm |
| Air conditioner | 30 cm below the ceiling |
All sockets and switches in one room should be on one line: it looks tidy, and it also makes it easy to guess where the cable runs in the future.
The kitchen is the most “power-hungry” room in the apartment. An electric stove is 6–8 kW, an oven 2–3.5 kW, a dishwasher 2 kW and a kettle 2 kW. That is why the stove and oven need a separate line with 6 mm² cable, while the worktop sockets need at least two lines. Plan sockets for the extractor hood (in the upper cabinet), the fridge, the microwave and the worktop (3–4 of them). Place sockets for built-in appliances next to the appliance, in the neighboring cabinet, so you can easily reach them later.
In the bathroom, electrical wiring in an apartment is subject to the strictest rules. Sockets are prohibited in the bath or shower zone (zones 0–1). A socket is only allowed at least 60 cm away, with a protection rating of IP44 or higher, and always with RCD protection. Light fixtures must be enclosed (IP44+), and the water heater and washing machine need a separate, earthed line.
In a modern apartment, a single chandelier per room is rare. Plan zoned lighting: main (ceiling lights), task (kitchen worktop, desk) and decorative (LED strip, wall light). Use two-way switches in the hallway and bedroom, and a dimmer in the living room. LED bulbs use 5–8 times less power than old ones, so 1.5 mm² cable is fully sufficient for the lighting line.
While doing the electrical wiring in the apartment, also run the low-voltage cables: an internet (Cat6) cable to the TV and the desk, a TV cable, a video intercom, and a spot for the Wi-Fi router in the center of the apartment. Run these cables at least 15–20 cm away from the power cable to avoid interference.
In a new building, an apartment is usually allocated 5–10 kW of capacity. If you have an electric stove, a water heater, air conditioners and underfloor heating together, you may need to increase the capacity, which you do by applying to the electricity distribution company. Find this out in advance so you can choose the main supply and circuit breaker correctly.
In an 80 m² three-room apartment, a family originally planned 28 sockets, “as the electrician said.” After drawing the furniture plan, it turned out that 6 sockets would end up behind wardrobes, while the kitchen was missing 3. Planning saved them from post-renovation changes (chasing, putty, painting), which would have cost about 1 200 GEL. Calculating the material quantities in advance with the calculator also saved them from buying extra cable.
The cost depends on the area, the number of points and the quality of materials (economy, standard, premium). For an accurate estimate (cable length, sockets, circuit breakers, panel, labor), use the electrical wiring price calculator. For useful renovation videos, see our YouTube channel.
The choice of material quality affects the cost the most. The economy class uses local or Chinese-made sockets and circuit breakers: they work functionally, but the design is basic and the service life is shorter. The standard class includes the mid-range series of European brands (e.g. Schneider, Legrand, the budget lines of ABB): the best balance of reliability and price. The premium class includes designer series, metal or glass frames, smart switches and touch panels. An important rule: for cable and circuit breakers, always choose standard or better, while on sockets and switches you can save money, since they are easy to replace later.
To give you an idea of where the total comes from, here is a typical breakdown for an 80 m² apartment in the standard class:
The exact quantity and price for your apartment will be calculated in the electrical wiring price calculator: enter the area, rooms and quality, and you will get a complete list.
If you have small children, choose sockets with protective shutters: the holes open only when both prongs of the plug are pushed in. Add this protection to low sockets, especially in the children’s room, and choose a panel with a lockable door. RCD protection is especially important in this case.
Properly planned wiring also lowers your monthly bill. Use LED lighting, a motion sensor in the hallway and storage room, a timer on the water heater (so it heats at the night tariff), and a separate circuit breaker for “standby” appliances. Add a thermostat to the underfloor heating and air conditioner lines. These small additions save hundreds of GEL a year.
When the work is finished, ask the electrician for: a panel diagram (which circuit breaker serves which zone), photos of the cables before plastering, a list of materials used and a written warranty of at least 1 year. These documents will be very useful when you sell the apartment or do future renovations.
Electrical wiring in an apartment is successful when: the points are planned using the furniture plan, high-power appliances have separate lines, copper cable of the correct cross-section is used, wet areas have RCD protection, every socket is earthed, and a photo diagram remains. To plan the cost, use the calculator, and compare material prices on the discounts page.
📹 Video renovation tips: Datvale YouTube · 👍 News and discounts: Datvale Facebook
A three-room apartment usually needs 25–35 sockets and 10–15 switch/light points, for a total of 35–50 points.
Use 3×2.5 mm² copper cable for sockets, 3×1.5 mm² for lighting and 3×6 mm² for the electric stove.
Most often there are too many appliances on one line, or the RCD detects a current leak (a damp socket, a damaged appliance).
In an 80 m² apartment, chasing, running cable and assembling the panel usually take 4–7 working days.
If the wiring is more than 20 years old or aluminum, it must be replaced during renovation: this is a safety issue.