


- EN
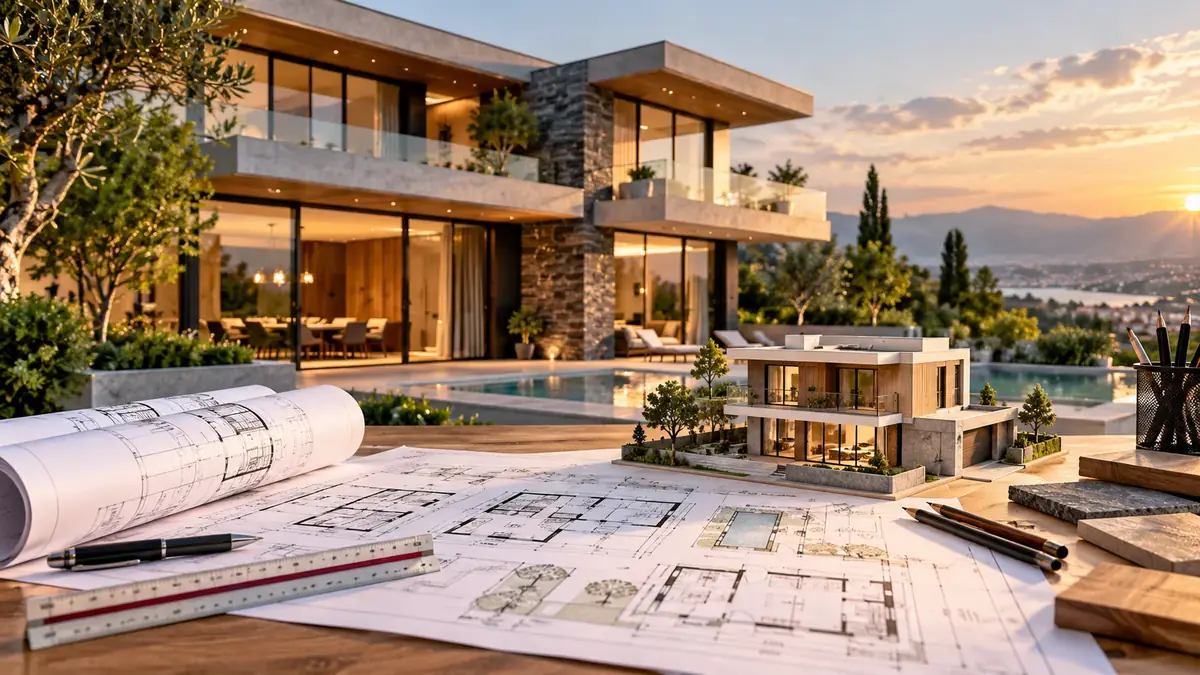

If you know the house design stages in advance, you can plan your construction timeline and budget far more accurately.
Building a private house starts with an architectural design, and it is at this stage that you decide how comfortable, safe and economical the home will be for decades to come. In this article we explain what a full design package includes, what stages the work goes through, and how to choose an architect so that you avoid unnecessary costs and delays.
📌 To calculate the cost quickly, use the architectural design cost calculator.
The cost of the design depends mainly on the area and the complexity. For an exact figure, use the architectural design cost calculator, and for the full construction budget, the construction calculator and the cottage calculator. For the interior, see the design calculator.
A decision made at each stage is cheaper than the same decision at the next one. That is why you should go through the house design stages in order and not skip any. You can read more about the role of the architect here.
This is the most important and the most often skipped step. Write down how many people will live in the house, how many bedrooms, bathrooms and workrooms you need, whether you want a garage, terrace, pool or basement, and what budget you have for construction. The more precise the brief, the fewer changes there will be later.
A topographic survey shows the exact boundaries of the plot, its slope and differences in elevation. A geological survey determines the soil type, the groundwater level and the correct type of foundation. On a sloping plot or on clay soil, building without a geological survey risks cracks and settlement.
The architect offers you several options: the layout, the facade and the massing. A 3D model helps you imagine how the sun will fall into the rooms, how the house will look from the street and how it will fit into the terrain. At this stage, changes are free or almost free.
The working design is the builders’ “instruction manual”: floor plans with dimensions, sections, facades, details, door and window schedules, structural drawings (reinforcement, concrete grade) and engineering systems. A good working design rules out “improvisation” during construction.
With the design, you apply for a permit to the local Urban Development Service. Once construction begins, the architect’s author’s supervision ensures that the house is built exactly according to the design.
A simple, compact shape is not only cheaper but also more energy efficient: less exterior surface and less heat loss.
Correct orientation (living room facing south), good thermal insulation, double or triple glazing and planned ventilation reduce heating and cooling costs for years. All of this is cheapest to include in the design itself. For air exchange, read our article on heat recovery ventilation, and calculate your heating costs with the heating calculator.
| Stage | Typical duration | Result |
|---|---|---|
| Technical brief | 1–2 weeks | List of requirements, budget |
| Topography and geology | 1–3 weeks | Site plan, soil report |
| Concept sketch and 3D | 2–4 weeks | Layout, facade, visualization |
| Working design | 4–8 weeks | Full drawings and specifications |
| Permit | 2–6 weeks | Building permit |
In total, the house design stages usually take 2–5 months. This time is not “lost”: a well-planned house is built faster and more cheaply.
These documents are not needed only for construction: they will also be useful for a bank loan, insurance and a future sale.
Of the total construction budget, design usually makes up a small share, but it determines how efficiently the rest of the money is spent. A typical breakdown: foundation and frame 30–40%, roof and facade 15–20%, utilities 15–20%, interior finishing 25–35%. Calculate the exact figures for your house with the construction calculator, or, if you are considering a timber house, with the cottage calculator. Properly completed house design stages show you this budget in advance and with accuracy.
For a 180 m² house, a family first bought a “ready-made” design that had been prepared for a different plot. The geological survey showed that their plot had weak soil and that a standard strip foundation would not work. The architect adapted the design: changed the foundation, simplified the roof shape and rearranged the rooms according to the sun. As a result, they avoided reworking the foundation during construction, and saved about 15 000 GEL thanks to the simpler roof.
📹 Video tips on construction and renovation: Datvale YouTube · 👍 News and discounts: Datvale Facebook
For a private house, usually 1–3 months: the concept sketch takes 2–4 weeks and the working design 4–8 weeks, depending on complexity.
Yes. Georgia is a seismically active region, and the structural part is the foundation of the house’s safety.
You can, but it has to be adapted to your plot, soil and building codes, which often requires additional work.
The architect periodically checks that construction is proceeding according to the design, and records any mistakes in good time.